среда, 24 мая 2017 г.

Save money with these DIY Garden Design and Landscaping tips


Gardening is much easier than you think and doing it yourself saves you a lot of money. Don't let "I don't know now" keep you from having what you want. Today, I'm sharing basic gardening design and landscaping tips. Follow these simple steps to creating the garden you've always wanted.


save money with these diy garden design and landscaping tips, gardening, landscape, Determine the plant hardiness zone where you live This information will help you pick plants that will thrive in your climate


save money with these diy garden design and landscaping tips, gardening, landscape, Gather some basic gardening tools gloves kneeling pad cultivator and a trowel


save money with these diy garden design and landscaping tips, gardening, landscape, Use a garden rake or cultivator to break up the ground


save money with these diy garden design and landscaping tips, gardening, landscape, Dig your hole twice as wide and as deep as the root ball Be sure to break up the root ball before planting


save money with these diy garden design and landscaping tips, gardening, landscape, Set your plants in the hole and back fill with both the soil from the bed and amended soil Lightly tamp the dirt around the plant and water the plant


save money with these diy garden design and landscaping tips, gardening, landscape, Visit for more practical and money saving tips


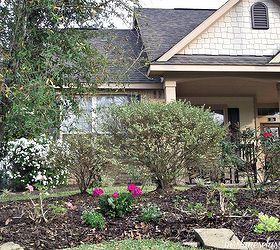
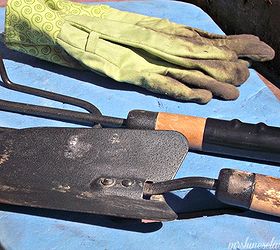
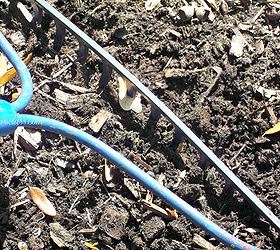
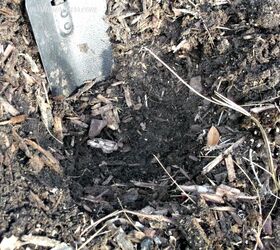
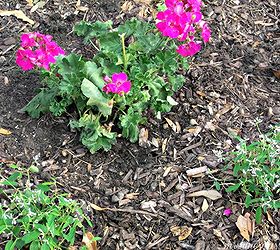
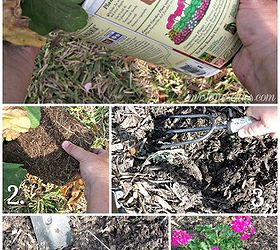
Original article and pictures take http://www.hometalk.com/1187173/save-money-with-these-diy-garden-design-and-landscaping-tips site


Side table makeover with chalk paint

A couple shades of blue give this table a new life


side table makeover with chalk paint, chalk paint, painted furniture


side table makeover with chalk paint, chalk paint, painted furniture


side table makeover with chalk paint, chalk paint, painted furniture


side table makeover with chalk paint, chalk paint, painted furniture


side table makeover with chalk paint, chalk paint, painted furniture


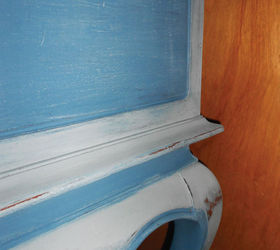
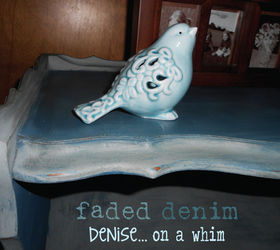
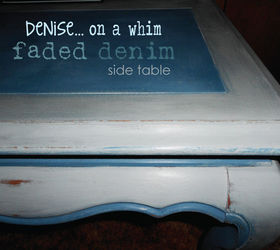
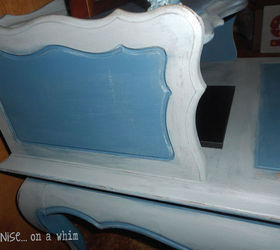
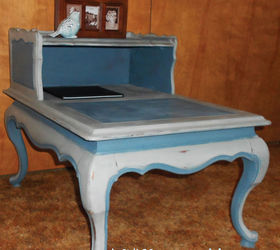
Original article and pictures take http://www.hometalk.com/1187013/side-table-makeover-with-chalk-paint site

DIY Pom Pom Mobile Tutorial


I created this beautiful and inexpensive mobile for our daughter's nursery with two simple craft supplies - yarn and an embroidery hoop.


1. Start by making all of your pom poms. I made them in a variety of different sizes for my mobile (in total I made 35 pom poms).


diy pom pom mobile tutorial, crafts, how to


2. Wrap the yarn around your fingers (I used two fingers for a small pom pom, three fingers for a slightly larger pom pom and four fingers for the largest size). I wrapped the yarn around my fingers about 90 - 100 times.
3. Cut another piece of yarn in the same colour (about 6 inches long). Thread the yarn between your fingers, tying once loosely. Slide the yarn off of your fingers and tighten the yarn to ensure a secure knot.
4. Using scissors cut through the loops on both sides.
5. Fluff the yarn to form a full pom pom.
6. Trim the yarn to create a uniform looking shape.


diy pom pom mobile tutorial, crafts, how to


Next, take apart the embroidery hoop and use the inside hoop (without the metal piece) and wrap the it in yarn.


diy pom pom mobile tutorial, crafts, how to


Cut five pieces of yarn to your desired length (these pieces should be long enough to gather together and tie at the very top of your mobile and hang as long as you wish at the bottom).
Lay out each piece of yarn and determine the order you'd like your pom poms to be in (consider size and colour). Once you are happy with the appearance of your mobile, begin tying the pom poms to the string of yarn by looping it through the piece of yarn used to tie the pom pom in Step 2. Start at the top of the mobile and work your way down. I added one pom pom at the top centre (where all five pieces of yarn meet) and two per piece of yarn before I hit the embroidery hoop.


diy pom pom mobile tutorial, crafts, how to


Tie each piece of yarn around the embroidery hoop and finish with a pom pom (this is where I used the largest size). Continue tying on pom poms until you reach the bottom of the yarn.


diy pom pom mobile tutorial, crafts, how to


We secured the mobile on the ceiling with an eye hook. Remember to keep the mobile out of reach of your baby, and ensure your mobile is secure so that no pieces are able to fall into the crib.


diy pom pom mobile tutorial, crafts, how to


Original article and pictures take http://www.hometalk.com/11868855/diy-pom-pom-mobile-tutorial site


Star Wars Silhouette Flameless Candles


With less than 40 hours away from the premiere of The Force Awakens these candles seem to scream MAKE ME!


What you will need
Flameless Candles ( bet you have some laying around)
Printer or access to printer
Silhouette images of your favorite Star Wars peeps
Paper
Tape


star wars silhouette flameless candles, crafts


I used word to simply adjust my images to the size I needed. My paper lay out was set to landscape that way the paper would wrap completely around my candles. My images were purchased off of Etsy.


star wars silhouette flameless candles, crafts


Now you will simply wrap your paper with images around your candles.


star wars silhouette flameless candles, crafts


I taped in two areas on the back of the candle. One almost to the bottom and the other towards the top of the candles.


star wars silhouette flameless candles, crafts


What a simple and inexpensive way to add some Star Wars decor to your home. May the force be with you!


star wars silhouette flameless candles, crafts


Original article and pictures take http://www.hometalk.com/11868165/star-wars-silhouette-flameless-candles site


Lamp Makeover from a Car Seat Cover!

Upgrade a cheap lamp with recycled car seat beads! An easy way to make a WalMart floor lamp look totally Pottery Barn. You can use any kind of beads. Pin for later :)


lamp makeover from a car seat cover, crafts, lighting, seasonal holiday decor, Super quick upgrade to a cheap floor lamp using wooden beads See this post here


lamp makeover from a car seat cover, crafts, lighting, seasonal holiday decor, Lamp makeover using wooden beads from a car seat


lamp makeover from a car seat cover, crafts, lighting, seasonal holiday decor, I was happily surprised by how the beads made a pattern as I wound them up the neck of the lamp


lamp makeover from a car seat cover, crafts, lighting, seasonal holiday decor, before yuck haha


lamp makeover from a car seat cover, crafts, lighting, seasonal holiday decor, these beads came from a seat like this


lamp makeover from a car seat cover, crafts, lighting, seasonal holiday decor


lamp makeover from a car seat cover, crafts, lighting, seasonal holiday decor


lamp makeover from a car seat cover, crafts, lighting, seasonal holiday decor, After I love this lamp I m tempted to pull it out of the guest room so I can see it in the living room every day


lamp makeover from a car seat cover, crafts, lighting, seasonal holiday decor


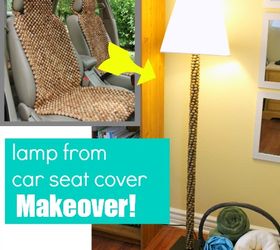
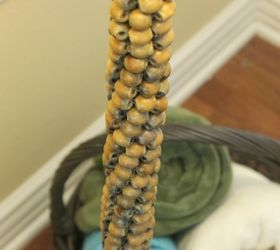
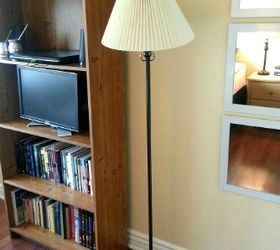
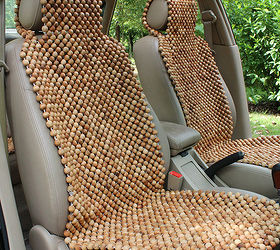
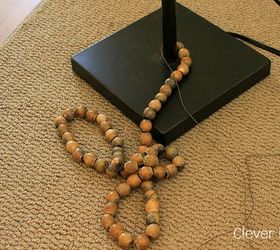
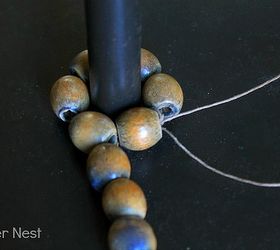
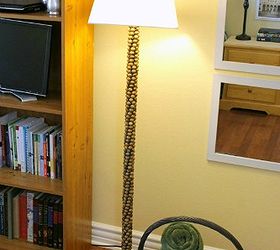
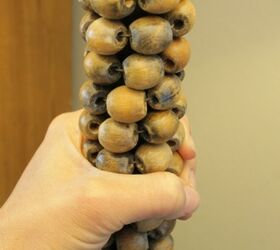
Original article and pictures take http://www.hometalk.com/1186800/lamp-makeover-from-a-car-seat-cover site

DIY Bathtub Shelf

I have the easiest DIY project you can make with any scrap wood you have laying around! You are going to love how easy this is, make sure to stop by My uncommon slice of suburbia for the full tutorial on how to make this easy bathtub shelf!


You can stop over to the blog and see the full tutorial


diy bathtub shelf, bathroom ideas, diy, shelving ideas, woodworking projects


This was so simple and we used scrap wood that we had laying around! Stop over My Uncommon slice of suburbia for the full tutorial!


diy bathtub shelf, bathroom ideas, diy, shelving ideas, woodworking projects


After all your easy work you can sit back in your bath and enjoy a good book! Make sure to stop be for the full tutorial. Thanks so much for stoping by!


diy bathtub shelf, bathroom ideas, diy, shelving ideas, woodworking projects


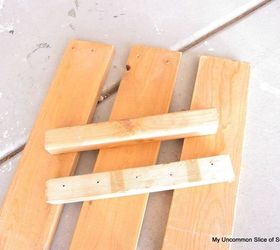
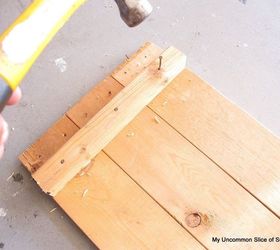
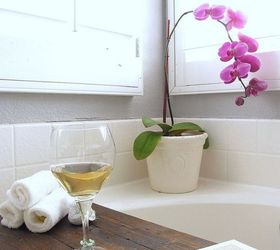
Original article and pictures take http://www.hometalk.com/11867943/diy-bathtub-shelf site

Miniature Christmas Jar Scene

Have a clear jar, glass, candle holder, or shallow tray laying around? Why not use it to create a simple, yet festive holiday mini scene for your home this holiday season? Or, style one to give as a personalized gift.


Glass jars are perfect for making miniature Christmas scenes. Read below to find out how we created this scene in minutes.


miniature christmas jar scene, christmas decorations, seasonal holiday decor


What do you need to recreate this scene? Some epsom salt, your favorite Christmas miniatures from miniatures.com, and a glass jar. Epsom salt can be found at most drug or grocery stores.


miniature christmas jar scene, christmas decorations, seasonal holiday decor


Start by scooping the epsom salt and pouring it into the jar to your desired level. Be sure to leave enough room in the jar for your miniature items to rest on top of the "snow" and still fully inside the jar.


miniature christmas jar scene, christmas decorations, seasonal holiday decor


Next, place your miniatures in the "snow" and start creating your Christmas scene!


miniature christmas jar scene, christmas decorations, seasonal holiday decor


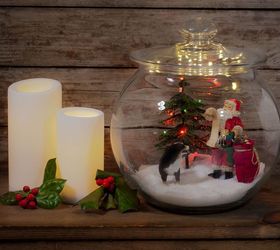
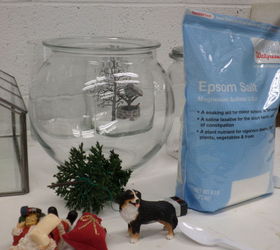
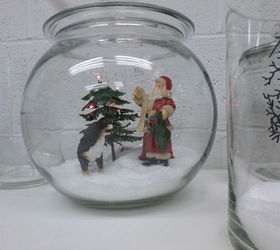
Original article and pictures take http://www.hometalk.com/11867647/miniature-christmas-jar-scene site