It seemed large when I moved in almost 2 years ago, but with the growth of Arts & Classy and my DIY projects it is getting a little cramped with furniture and decor.
I really really wanted to get a real christmas tree this year. I love the smell of them + my kitties love sticking their faces in the tree and playing with the lights and ornament.
I am basically saying it wouldn't have been practical to get a real tree this year.
Instead I decided to creative problem solve.
I decided to create my Christmas tree out of washi and some double sided tape.
- Washi Tapes in a variety of colors and finishes
- Double Sided Tape
- Cutting Mat
- Cutting Knife & Extra Blades (the go dull quickly)
- Scissors
- 1 set of christmas string lights
- Ruler - preferably a metal ruler with a cork back
- Staple gun
- Staples 1/2
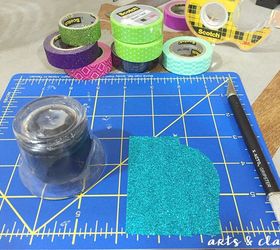
- Object or stencil to create circular ornaments
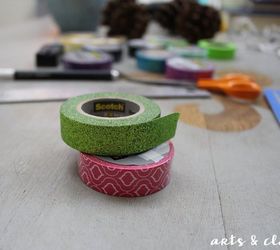
I gathered all my supplies and figured out what tape I wanted to use for the tree itself. I decided to go with the glitter green washi tape.
STEP 2
I began applying the tape to the wall. On the ends, I used the double sided tape to help secure the tape to the wall to stay for the month.
The corners were a little challenging but with the cutting knife and ruler, creating perfect corners and angles is not so hard. Just a little time consuming.

Once I was finished with the outline of the tree, I began creating the base of the tree. I decided I wanted to create a trunk and "planter" to make it look authentic. I used plain black, green dot, and glitter purple washi tape to do this.
I also began taking more of my decorative approach to the decor across the tree. I used the pink lattice tape + the plain purple washi tape to complete this step.

I decided to make a star for the top of the tree with the purple glitter washi tape.
I also wanted to add more dimension to this tree by stapling 1 strand of white christmas lights to the tree.

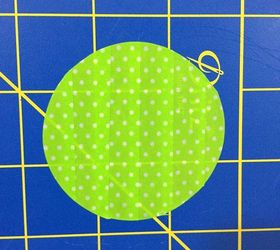
Even though the white lights were a great addition, I decided to create a few "ornaments" our of washi tape too.
I purchased a lot of patterns from washi tapes. There are a lot of choices.

I enjoyed my creation and pushed up my presents I had wrapped to really get the full effect.

Original article and pictures take http://www.hometalk.com/11562601/diy-christmas-tree-project-on-a-budget site
Комментариев нет:
Отправить комментарий