I love a good holiday mug for enjoying hot cocoa and eggnog, but one with Santas and glitter and all the noise-noise-noise surrounding the holidays just won't do for me. To be honest, I'm kind of a humbug.
When I spotted a pretty gray mug at Target, I decided I'd craft my own humbug-appropriate mug using oil Sharpies. Here's how you can make one, too!For your own custom mug, you will need:
-a ceramic, glazed mug (I got this lovely grey number at Target for $2)
-Sharpie OIL markers (must be oil--find them at Hobby Lobby)
-paper and pencil (to practice your design)
-Masking Tape
-Rubbing alcohol
-Cotton balls
-Oven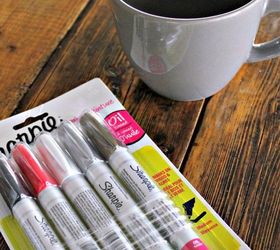 Decide how big you want your design to be and cut a strip of paper that size. Place the paper over the surface of the cup to see how everything will fit. If the size is to your liking, move to the next step!
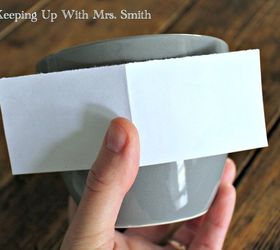 Remove any labels, dirt and finger oils from the surface with a cotton ball dampened with rubbing alcohol. Dry surface with a dry cotton ball.
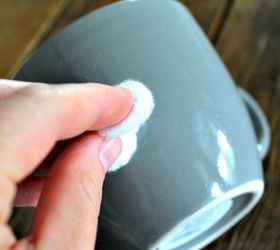 Using strips of masking tape, "cordon" off the spot for your first design, or in my case, the word "HUM." This will keep you whole design centered and your lines even.
 My designs were free-handed but I looked online for inspiration for the sheep. Rubber stamps don't work well at all on ceramic but the fonts are easy to see and copy by hand.
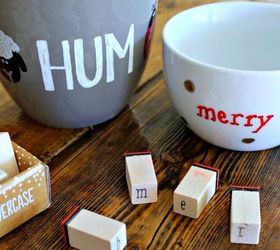 Don't like what you drew or wrote? Quickly erase it with the damp cotton ball and start again. The sheep took me several tries but I was eager to see my design through to the end. HUMBUG!
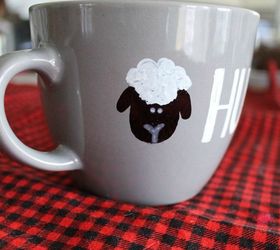 The HUM and ladybug were easier.
 I even had a ladybug visit my table while I worked. Hello there!
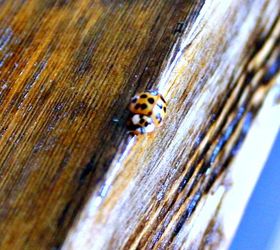 Once your design is to your liking, allow the paint to dry for 3 days. This time allows the paint to fully cure before baking. (And after all the drawing and erasing, you'll want your design to last!)
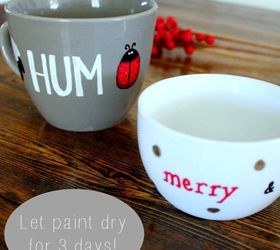 After 3 days, bake the cups like so:
-Place mugs in a cold oven
-Set oven temperature to 350
-Once the oven reaches 350, bake the mugs for 30 minutes.
-After the 30 minutes, turn off the oven and allow the oven and mugs inside to fully cool.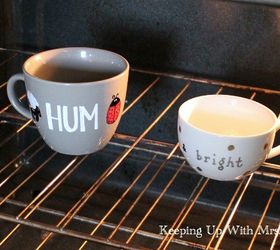 And you're done!
As far as care, pretend your Sharpie mug is like one of your china cups. This means:
-Don't wash in dishwasher
-No microwaving
-Drink with one pinky out
I am IN LOVE with my new mug. Not a bad craft for a humbug. For more on this tutorial, visit the link below!
And for even more fabulous craft ideas, visit the hashtag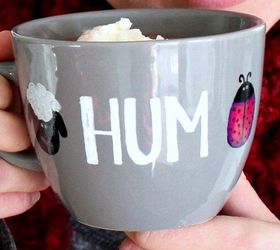
Original article and pictures take http://www.hometalk.com/11580709/baa-humbug-sharpie-mug site
Комментариев нет:
Отправить комментарий